Getting started with OnePortal Rapid
Updated
Mar 28, 2019
Category
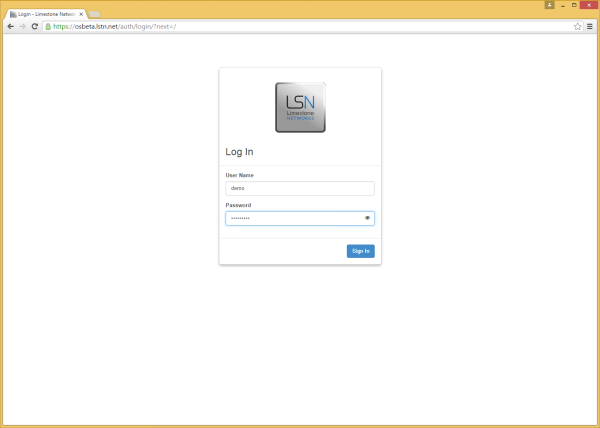
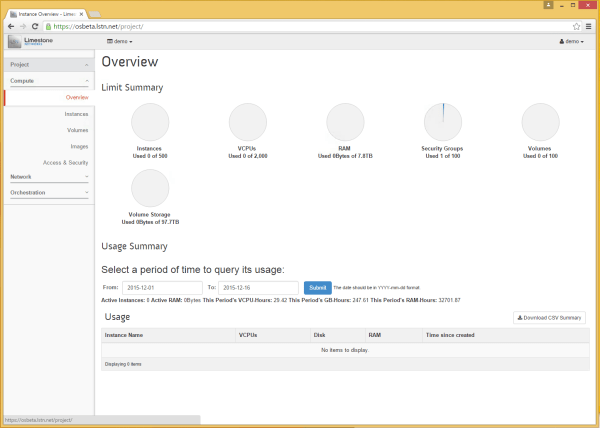
After your new cloud account is provisioned, you will be able to log in to the cloud control panel using your OnePortal credentials.
Security Groups
First, you should visit the Access and Security tab. This is where you will find the configuration for Security Groups, Key Pairs (SSH Keys), and API Endpoints.
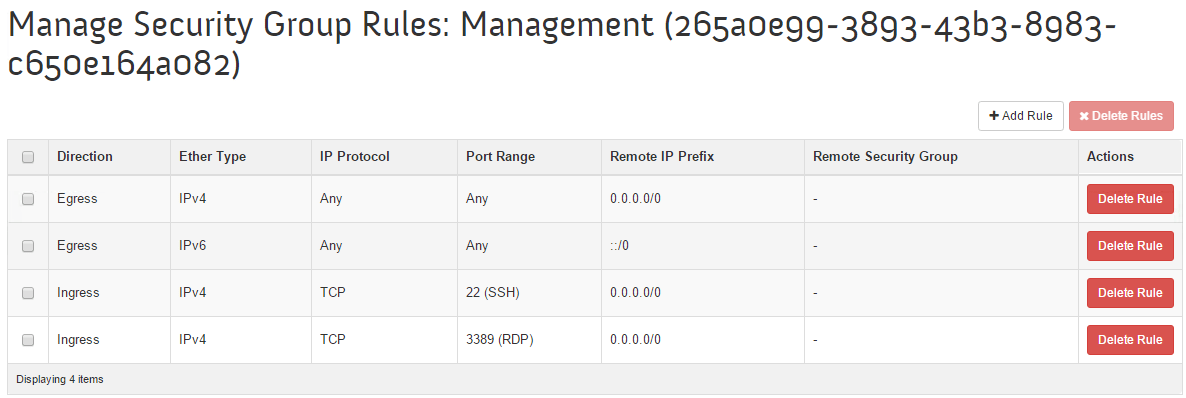
First, let's discuss Security Groups. By default, all outbound traffic from instances is permitted, and all inbound is blocked. You will build security groups to permit inbound services, and then assign the groups to your instances to allow the traffic. To get started, click +Create Security Group.
Management -- Remote Desktop and SSH access to your instances Use the +Add Rule button to create SSH and RDP permit rules allowing specific IP blocks or 0.0.0.0/0 (all traffic). Cloud Management Security Group
SSH Key Pair
Cloud images distributed by most distro builders do not allow password login upon install. Instead, they download SSH authentication key pairs which are downloaded upon first boot by the instance and installed as authorized remote users. In order to gain access to your instances on the LSN One Portal Rapid Cloud, you will need to have a key pair added to the instance when it is created.
Generate SSH Key
If you already have a key pair, skip to the Add SSH Key to OnePortal Rapid section below.
- Navigate to the PuTTY SSH Client download page.
- Download putty.exe and puttygen.exe
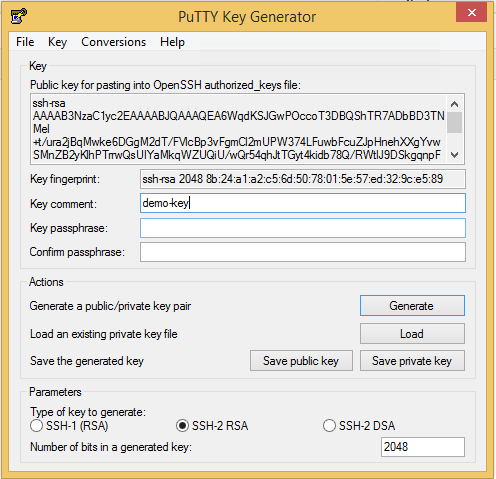
- Open puttygen.exe and click Generate
- After generating the SSH key, save the private key file to your local machine.
- Copy the public key file at the top of the puttygen dialog to your clipboard, you will need it in the next step.
Add SSH Key to OnePortal Rapid
To add a key pair, navigate to Access and Security, and select the Key Pairs tab. Then select Import Key Pair. Name the key pair and paste your public key into the dialog box.
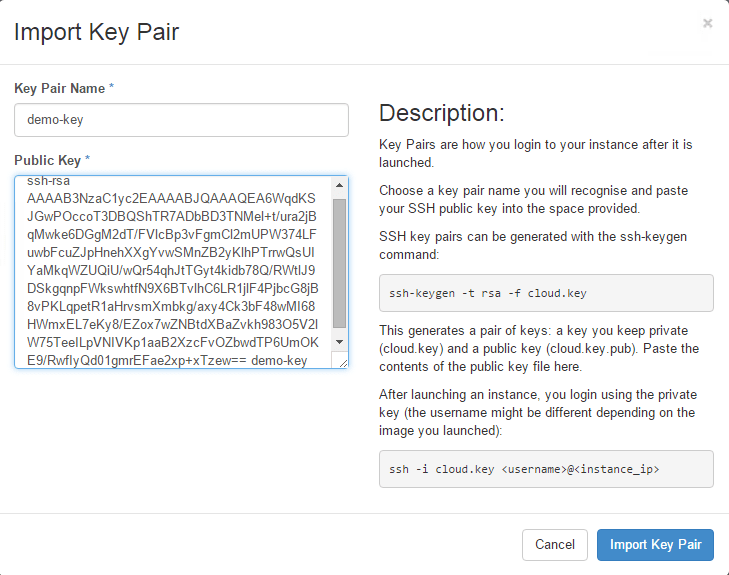
Once you have completed this step, you should see the key on your key pairs page.

Creating an Instance
After creating your security group and key pair, we are ready to launch a VM! Navigate to the Instances page and click Launch Instance.
On the Details tab, name your instance, select a flavor, use instance count 1, boot from the image, and select an Image to boot the instance from.
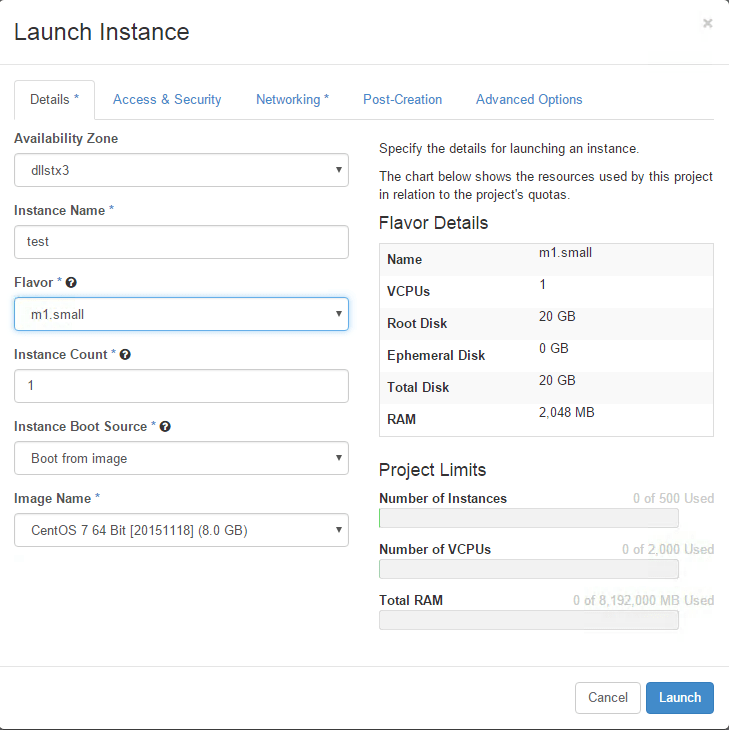
Under Access & Security, select your key pair and security group(s) that will permit inbound traffic to your instance. In the Networking tab, select network(s) to attach the instance to. Most images only configure the first NIC upon boot, so for testing select Public Internet.
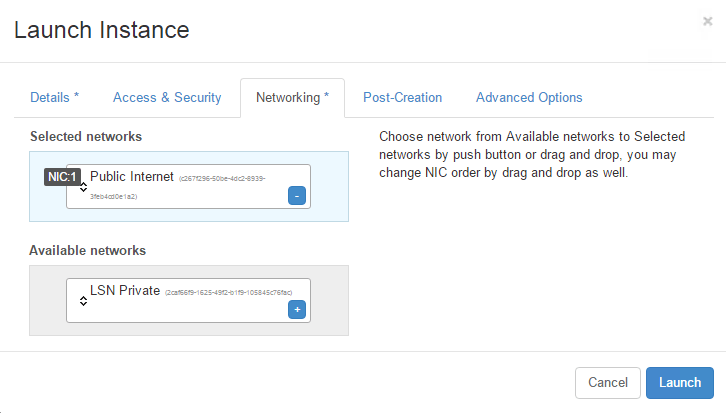
Now click Launch, and the instance will be deployed in the cloud.

Connect to the Created Instance
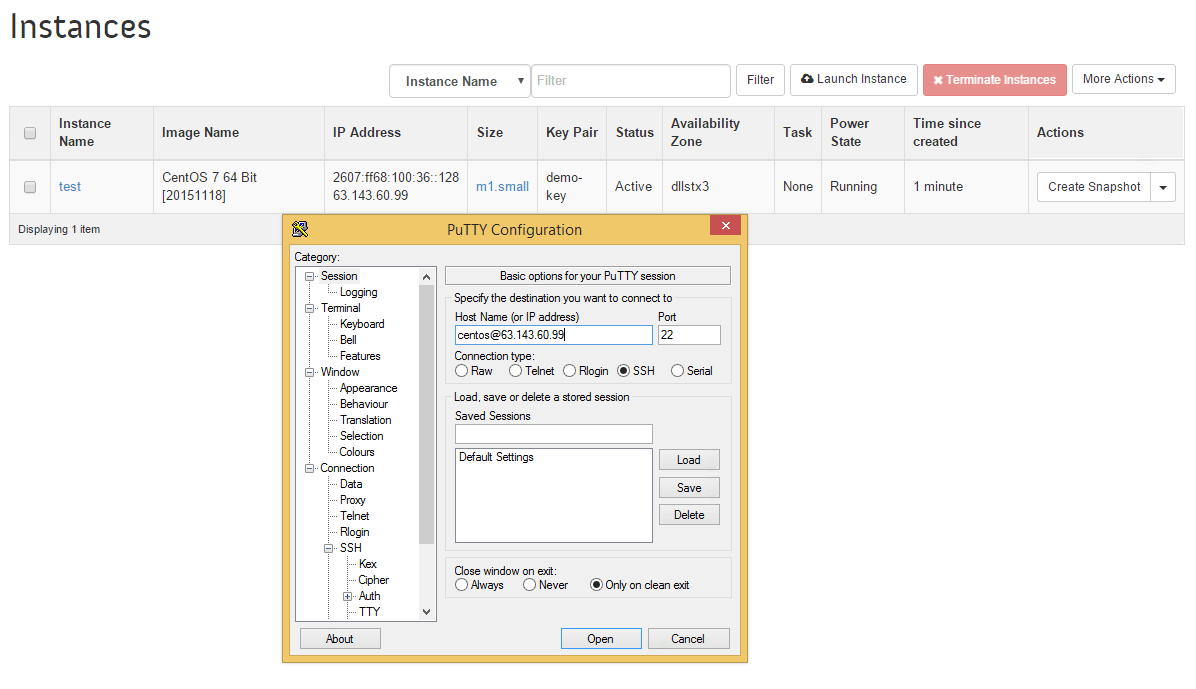
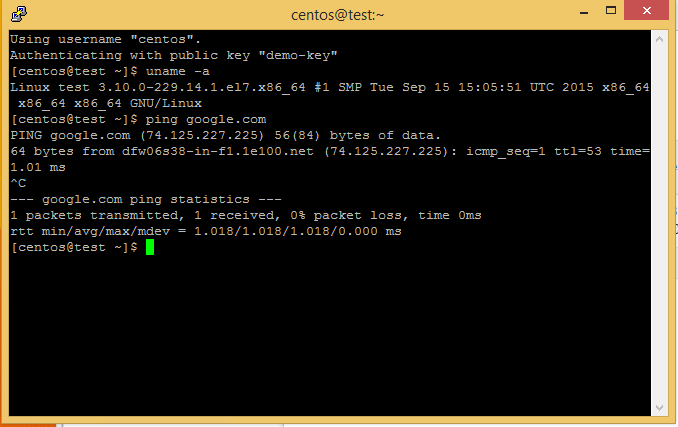
To access the launched instance, open PuTTY and navigate to the Connection > SSH > Auth settings. Set the "Private key file for authentication" to the private key file you generated earlier.
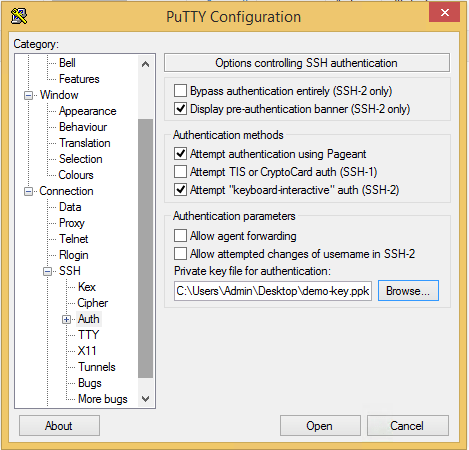
Then select the Session tab and enter the <user@hostname> for your instance. By default, CentOS instances are configured with a centos user, Ubuntu uses an Ubuntu user, and Fedora has a fedora user.
About Volumes and Instance Boot Disks
Think of volumes in OnePortal Rapid as hard drives that can be attached and detached from instances without losing their data. They can be based on OS images, instances can boot from volumes instead of the boot disk included with the instance, or you can use volumes as bulk storage devices for user data.
For the OnePortal Rapid cloud, we have SSD and HDD volume types available. SSD volumes are provisioned on flash storage, and HDD volumes are provisioned on 7200 RPM drives with SSD flash-based journaling. Both volume types include 3x data replication enabling self-healing in the event of a disk or node failure on the cluster. Instance boot disks are equivalent to fixed-size SSD volumes.
Creating and Attaching Volumes
To create a volume, select the Volumes page and click +Create Volume. In the dialog, enter a volume name, select a volume type, and enter a disk size for the volume you are creating.
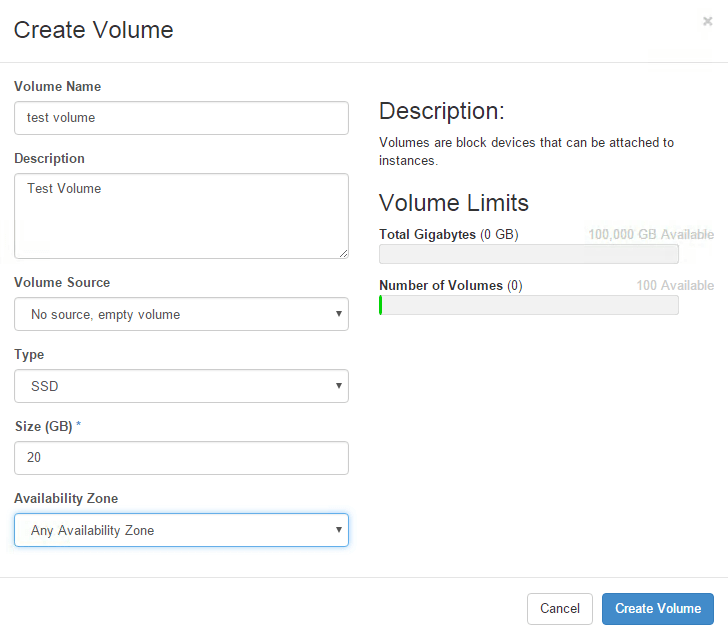
After creating the volume, select the drop down for the volume on the dashboard and click Manage Attachments. Now select your test instance and attach the volume to it.

Confirm the volume has been attached to the instance:
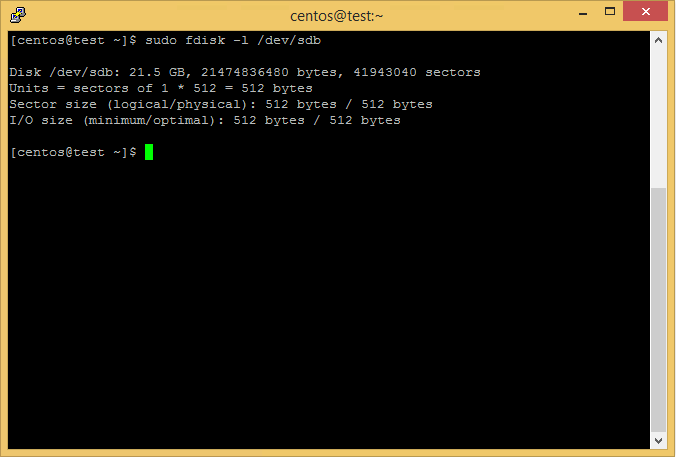
To detach the volume, navigate back to the Manage Attachments page and detach the volume. It will then be made available for deletion or attachment to another instance.
